Please note: This article may contain affiliate links. All recommendations and styling advice are provided as helpful suggestions only, please always research thoroughly before making any major changes to your home.
Correct me if I'm wrong, but is there anything more satisfying than a jaw-dropping front door transformation?!
When the price of a new door (plus the labour of installing it) could set you back up to 3K, I don't know about you...but I'd much rather put that money towards a holiday! And with the rising cost of living, every penny really does count.
Besides, why would you go to all the expense of replacing the entire door, when you can simply spruce up your existing door with a bit of TLC? For a complete front door makeover on a budget, you only need the smallest amount of DIY know-how.
So whether you're a dab hand at DIY or you have zero experience, I'm going to give you a complete step-by-step guide to walk you through the front door makeover process (and ensure you don't make my rookie errors)!
My front door makeover: Goodbye faded murky teal, hello vibrant sunshine yellow!
Why Should I Modernise My Front Door?
A study by Dulux has found that, on average, Brits have neglected to refresh the exterior of their home in over 8 years, whilst over 20% have left it sitting tired for over 15 years!
Updating your porch is a project that you may have been putting off because it just seems like too much hard work. But it's amazing how a lick of paint and some new accessories can completely transform this space.
Here are just a few of the benefits of prioritising a front door makeover:
Adds value to your home
Never underestimate the importance of curb appeal! According to the same study by Dulux:
- Nearly a third of Brits said they would pay 25% more for a house with a freshly painted door and brickwork, as well as a well-maintained garden and clean windows.
- 93% would be more likely to view a property if the exterior is well-kept.
- Overall, curb appeal can increase the value of your home by up to a whopping 55K!
Quick & cheap ROI
If you prep your equipment and materials, you can finish your DIY door transformation in just a day. And as for the cost, the basics shouldn't set you back much more than £100. This makes refreshing your front door one of the cheapest and quickest returns on investment of everything you could do to your house!
When there is the potential to add thousands of pounds worth of value to your property (with the smallest of budgets!), it would be crazy not to prioritise this straight away.
Mental health benefits
You've probably heard of the concept 'tidy home, tidy mind'. Well, if the first thing you see when you come home is a gorgeous and well-kept front porch, then this is only going to be telling your subconscious mind good things!
Creates DIY momentum
It's okay, we've all been there! Sometimes, as much as you want the Instagram credit, life just gets in the way or you have a mental block over where to start. DIY can feel overwhelming.
So starting with something small can be a quick win which fuels you on to bigger projects. Creating a new entryway can take as little as a couple of days. Rather than tackling that huge living room or an entire kitchen renovation, why not begin with a small area that packs a big impact?
7 Ways to Create an Insta-Worthy Front Door Makeover
So now that we've discussed some of the reasons you should get on this DIY project ASAP, let's get into the nitty-gritty of things to consider when giving your front door a refresh!
1. Repaint
Let's start with the obvious.
If you don't have a preference, or you're looking to sell, then you should strongly consider white, blue or black doors, as these paint colours are most favoured amongst the general population.
That said, it's really down to your own personal taste. I've always secretly yearned for a yellow front door, so after endless deliberation ('will the neighbours hate it?'), I bit the bullet and just did it! And whilst it may not be everyone's cup of tea, that's okay!
From deep pine greens to indulgent claret reds, there are so many beautiful options to choose from and there's no right or wrong answer! Whatever you plump for, think about longevity and try your best to pick something you can see yourself being satisfied with for the long term.
But, don't sweat the small stuff...it's not permanent, you only live once, and you can always repaint it later down the line!
When it comes to the painting itself, give yourself a full day and most importantly, make sure the weather forecast is dry and sunny.
How to repaint your front door
- Remove the door fixtures, e.g. unscrew the handle, letterbox, house number, etc. If for any reason this is problematic, you can always put masking tape around them.
- Tape around the glass panels (pay attention to this...you can get the paint off later if necessary, but from my own experience it's fiddly, so ideally take a little longer to get it right the first time!)
- Scrape off the old paint with a flat-scraper, repairing any cracks with a wood filler.
- Sand the whole door down to ensure you have a smooth base for painting.
- Optional: Wipe with methylated spirit and leave to dry. This gives it a final clean.
- Optional: Apply a coat of primer. It depends on the condition, and some paints may not require primer (check the manufacturer's instructions to be on the safe side).
- Finally - the fun bit! Start painting with your desired exterior paint. Don't be too alarmed after the first coat. It will need 2-3 coats before you can really appreciate the finished look.
- Leave the door open whilst it dries (top tip - wedge it open so it doesn't blow shut! Yep, I learnt the hard way!)
- Once dried, carefully add your door hardware back on (up next - refreshing door hardware!).
As you can see, it's really not that difficult, it just requires a bit of time and attention to detail. Like going to the gym, your mind blows it out of proportion, and once you've finished you'll wonder why you didn't do it sooner!
'But what if my door is uPVC?' I hear you asking. Fear not! Just follow this process without the paint-scraping or wood filler, and choose a suitable exterior paint. Happy days!
2. Replace door hardware
I think you know you're an adult when you start getting excited about door hardware!
But honestly, there are some really stylish ones out there! From customisable options to expensive-looking chrome or matt black finishes, this can really make all the difference and personalise your door to you.
These finishing touches go a long way and don't cost the earth, so if you're already going to the trouble of repainting your door, I'd definitely have a nosey at how you can next-level your door with some upgraded fixtures!
3. Change the glass
This is completely optional, but if you have some translucent (or just plain ugly!) glass panels in your door, it might be worth considering whether you want to update them. This has the potential to let more light into your hallway, as well as just generally giving the whole appearance of your door a fresher, cleaner look.
4. Consider lighting
Lighting...The holy grain of interior design secrets. Whilst it's easy to overlook when you're up to your eyeballs in paint charts, it's really no different to considering lighting in any other area of your home, so don't neglect this vital component!
Not only is an outdoor light helpful when you're trying to unlock your front door in the evening, but it can also be excellent for security and deterring theft. Plus, lights can look incredible and really elevate the front of your property!
If you're stuck for ideas, think about your interior style. If you're into a more traditional look, a wrought-iron lantern could be a really nice touch. Or, if you prefer a modern vibe, then opt for some up/down lighters.
5. Use foliage
My next point is to think about foliage. Greenery really helps to soften the look of your exterior and adds a lovely natural touch.
For visual interest, try some simple hanging pots or a couple of potted boxwood trees.
6. Update your doormat
Another often overlooked aspect! If your doormat is looking muddy, tired, or has just seen better days, then it's probably time to invest in a new one.
Go classic, or if you like, you can get some really fun, seasonal and sweet designs!
7. Finish off with a wreath
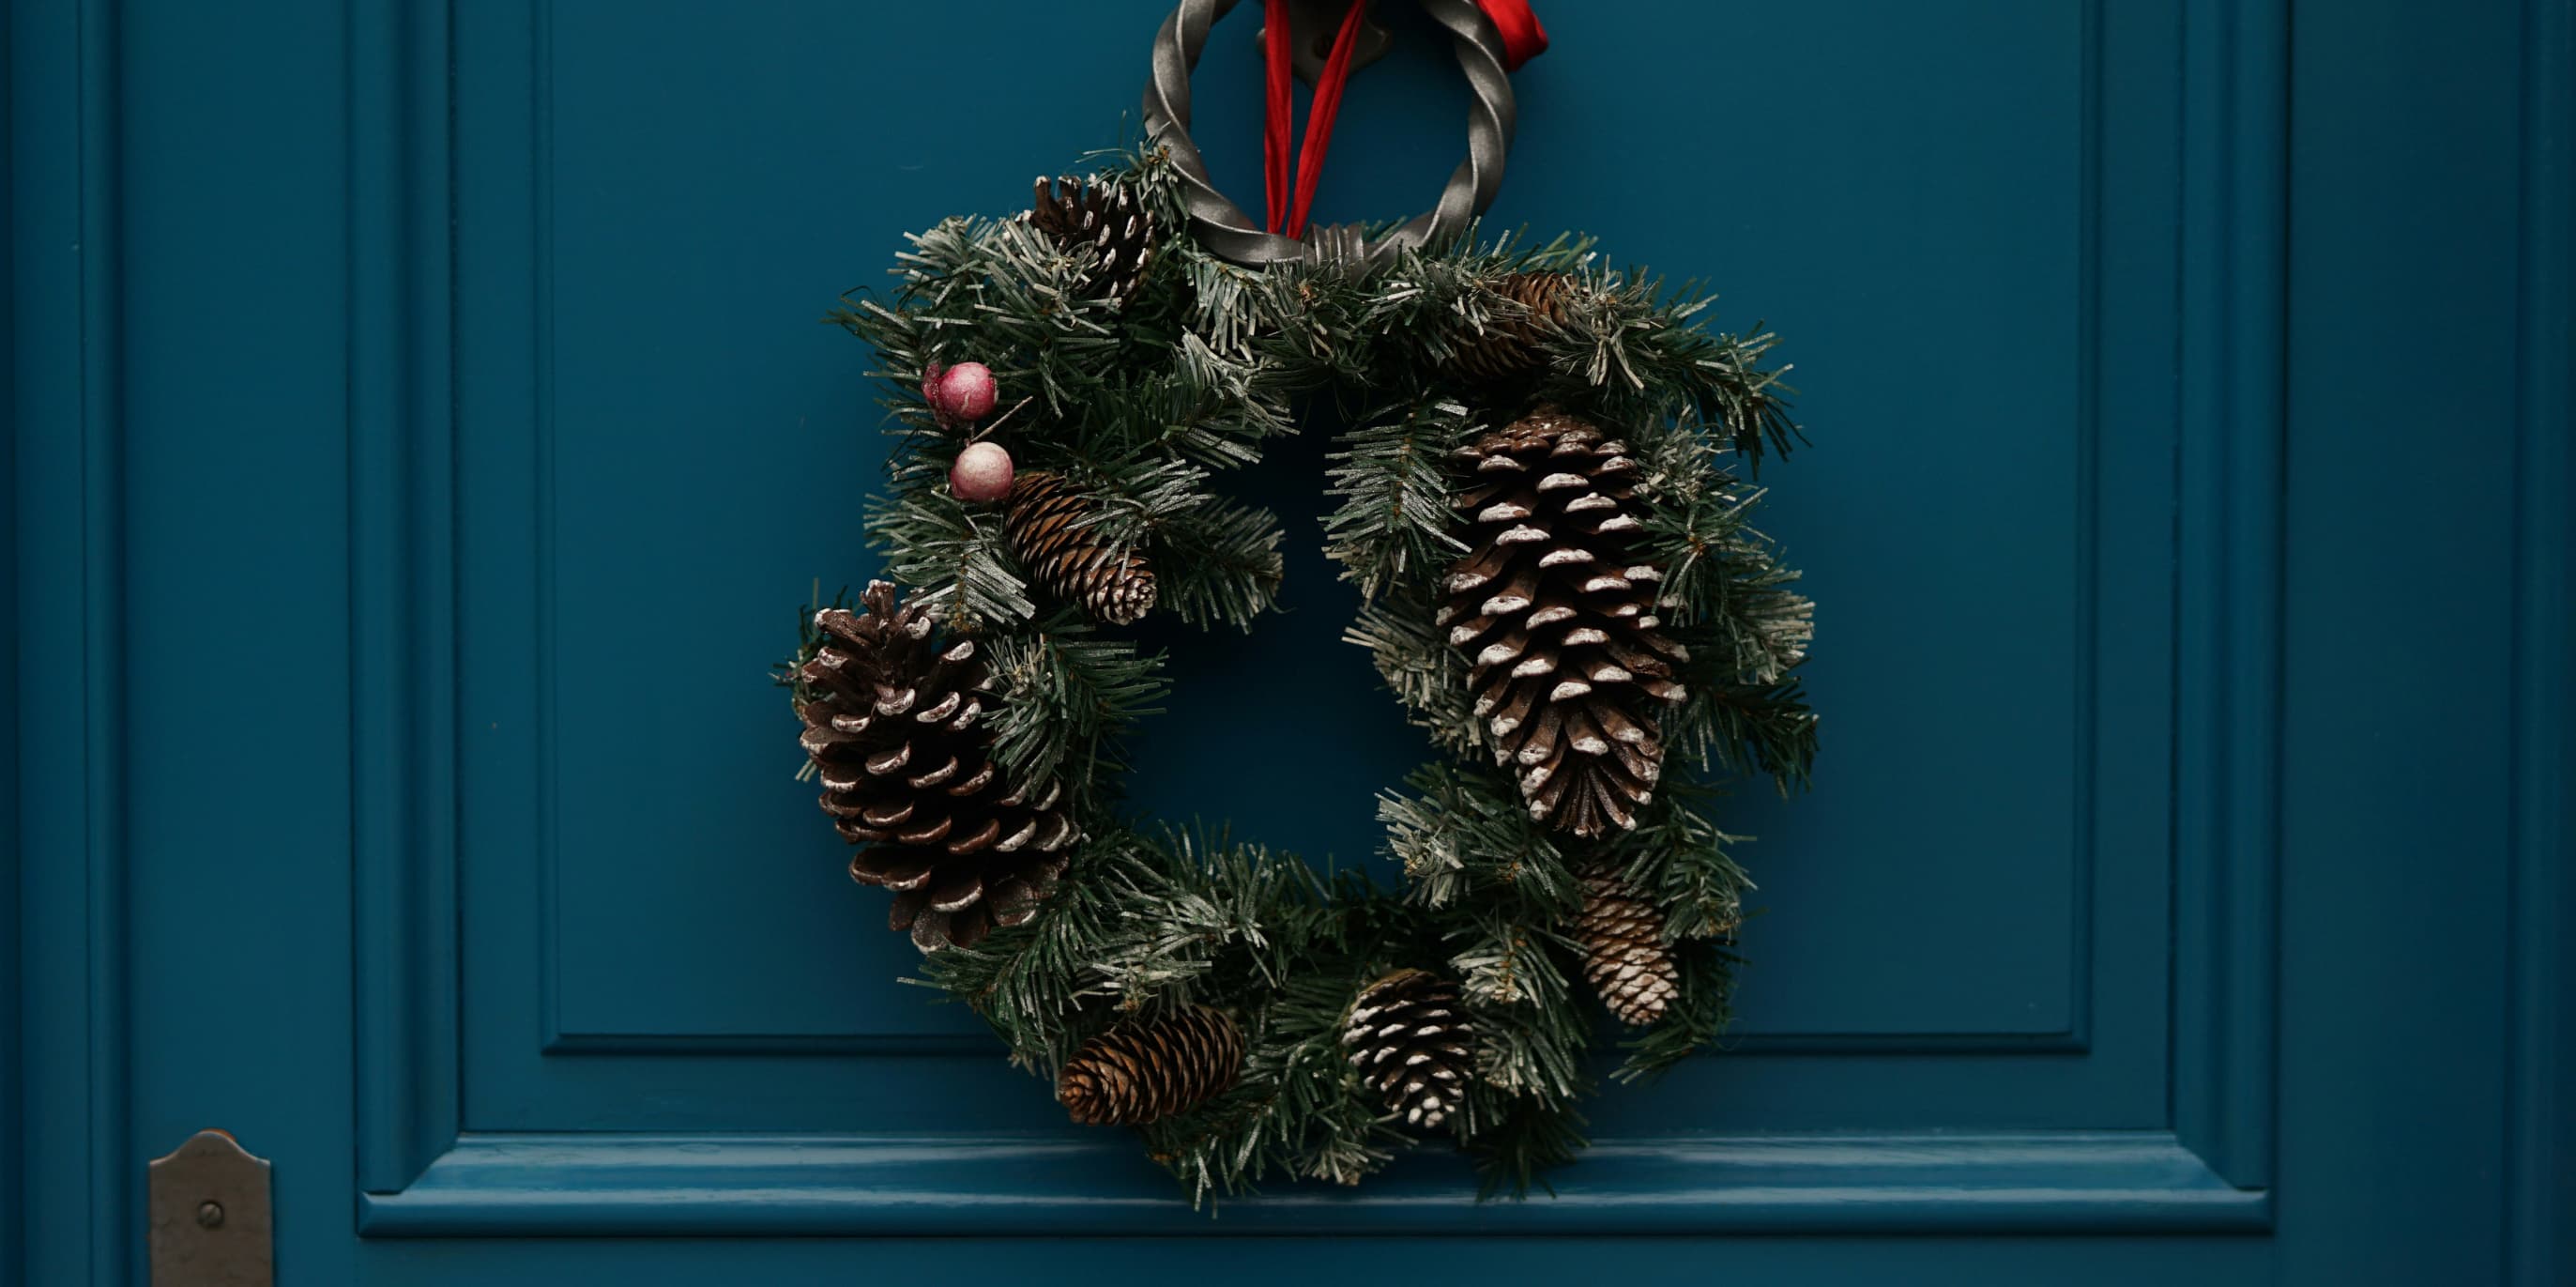
Finally, wreaths! A wreath is the perfect finishing touch for your front door makeover.
And can I just put a disclaimer here that wreaths don't just need to be reserved for Christmas! You can get floral wreaths, Autumnal or Easter ones, leafy ones...The list is endless. Seasons come and go, but you can bring joy to your door all year round!
What Are You Waiting For? Start Your Front Door Transformation ASAP!
Hopefully, this guide has given you some much-needed inspiration to grab your overalls and paintbrush, and start your picture-perfect front-door transformation!
By following these simple steps, you can give your front door a complete overhaul on a thrifty budget. Not only will you add value to your property, but you'll also create a welcoming first impression for guests, as well as a house you truly can't wait to get home to.