Please note: This article may contain affiliate links. All recommendations and styling advice are provided as helpful suggestions only, please always research thoroughly before making any major changes to your home.
Photo credit: with permission from @fleeting_interest via Instagram
Paint is utterly transformative, isn't it? It can zest up a bland and soulless room, dial down a DIY disaster or simply just help to make a house feel more like your home. But, choosing the right paint colour is surprisingly hard.
If you've ever found yourself perusing the aisles of B&Q or Homebase, you'll know exactly what it feels like when you're confronted with endless brands, finishes and promises - it's overwhelming and sometimes even intimidating...in fact, it's more than enough to make you want to stick with cream walls forever! And, that's before you've even considered the trickiest bit of all...the paint colour.
So, let's tackle that really fiddly bit.
Our Paint Recommendations
How Do You Choose a Paint Colour for Your Home?
Here are 10 steps I think actually work. Follow them to see if it helps you to pick the right paint colour, and let me know if you have any tips for picking colours that you think are worth sharing with everyone in the comments section below.
1. Choose a paint colour by narrowing down which room
First things first - consider the space you're painting. It's unlikely you're going to paint your house from tip to toe in the same colour, so just focus your energy on deciding a paint colour one room at a time. The key thing to think about the mood you want to create.
For example, do you want a living room that's dark and dramatic, or soft and gentle? This will then help to determine the intensity of shade you choose, as well the paint colour itself.

2. Figure out which way your room faces
Next, grab a compass and head to the window (remember there's a compass app on your smartphone) and see which way the light is coming from. The sun rises in the east and sets in the west (so you can probably figure it out by thinking about where the light comes into your home at various points of the day), and you can use Google Maps to help determine which way your room faces too.
But what's the point of knowing this? Well, the way the room faces will affect the paint colours you choose, and that's because of the kind of light your home receives.
Best paint for North facing rooms
Typically, light from the north is cooler (bluer) and harsher, so you might want a shade of paint with warm undertones if you don't want your room to look cool.
Best paint for East facing rooms
Rooms facing east are ideal for using a range of hues to create an atmosphere that fits the purpose and time when it is generally in use. For cooler evening light, tranquil tones such as blues, greens and muted shades will do the trick; while vivid yellows or oranges can help brighten up mornings full of sunshine.
Best paint for South facing rooms
To enhance the abundance of light in south-facing rooms, opt for hues that will maximise natural illumination and create a tranquil atmosphere. Cooler tones like blues, greens, and greys are ideal to brighten up the space while offering an airy feel.
Best paint for West facing rooms
West facing rooms will look cooler in the morning and warmer in the evening, so think about the times of day you use your room and how you want it to feel overall. Cool shades like blues, silvers and whites are best for helping to create a morning glow. Middle tones such as pink, plaster, satin and shaded white offer an ideal balance between cooler morning light and brighter afternoon sun.
I like Farrow & Ball's guide to understanding how light influences colour if you want to learn more.
3. Decide on a few shades you like (and listen to your gut)
This is perhaps the hardest step of all, but it's also the most fun. Expect to spend up to 30 minutes vacillating over the colour spectrum if you haven't already done some research to decide - broadly - on a colour. (Good sources of inspiration include Pinterest and Instagram - even if it's just for some rough ideas to see what you keep gravitating towards).

Photo credit: with permission from @brooklands_23_ via Instagram - this paint colour is 'invisible green' by the Little Greene paint company
Then, once you know what colour (i.e. blue), think back to the mood you wanted to create (i.e. soft and peaceful) and consider the shades that might best achieve that. Dulux's denim drift is popular right now, so it's one you might want to consider trying if it catches your eye.
And if does catch your eye? Pick up a few shades around it - lighter and darker (look vertically on the paint swatches), or consider picking one horizontally to it (a similar colour but with different undertones). If you can afford to buy them all, then do so - even if you're 90% sure you won't like them (more on that in tip #5).
Top tip: if you think you've found a colour you like, cast your eye straight to the bottom of that line of shades and look at the darkest shade. This will show you the 'true colour' (i.e. the undertones in it - yellow, blue, red etc.). While you may not end up using the darkest tone, you will find that some of those same undertones come through in the lighter shades, so it's important to like the undertones in the darkest shade in the line you like.
4. Read reviews
Make sure you've read a review or two before you go buying litres of paint in your chosen paint colour. Popular brands include Crown, Dulux and Farrow and Ball (in order of cheap to more expensive), but there are other not-as-well-known names such as the Little Greene Paint Company that are worth consideration. If you're happy that the reviews are largely positive (bearing in mind you'll always come across poor reviews for even the best products), go ahead and buy your chosen paint colour.
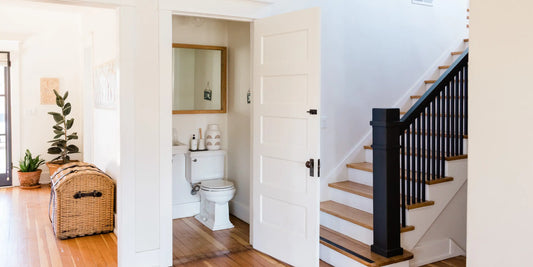
Top tip: when you're reviewing your favourite paint colours, also think about how they work in your home as a whole. You don't have to use the same colours everywhere, but thinking about 'flow' and how the colours appear to work together through open doorways and hallways is a good idea.
5. Buy some tester pots
Next, actually buy some of those tester pots! It's not unusual to buy 5 to 10 tester pots for an average sized room, so don't feel defeated if your basket isn't as refined as you were hoping it would be at this point. Of course, buying paint is never cheap, but testers aren't hugely expensive and spending a little bit of money now (roughly £2 to £4 per test pot) could save you lots of money further down the line - and time, too.
And as a bonus? You can use the leftovers for little touch ups if you do end up buying any of these paint colours in the end.
Top tip: some test pots will have their own little brush attached to the inside lid of the paint, but other brands will require you to dip your own paintbrush into the pot. For this reason, it's worth picking up a small, cheap brush or two, just for applying your testers.

Photo credit: with permission from @lotnumber30 via Instagram
6. Be prepared to be wrong
One of the most surprising thing about picking paint colours is that a colour can look VERY different on your wall to the way that it appears on a paint tin or colour chip. For that reason, you might find that one you didn't expect to like actually becomes your favourite. Be prepared to be wrong, and try to push yourself to go another shade darker or lighter just incase it surprises you.
7. Apply tester pots to the wall
Then, get it on the wall! Paint as large of an area as you can be bothered to, making the coverage as even as you can. It's worth applying the same paint colour on at least 2 different walls in your room so you can see how the colour looks in shadows and highlights.
Also, some people suggest painting paper which you can then stick to the wall. This is an excellent way of testing paint colour if you don't want to have to paint over the darker areas of test patches before you begin painting your room for real, but, the paint can behave differently on paper.
If you want to feel confident you like the colour and the finish, the best thing to do is paint the wall. It's more labour-intensive but worth it.
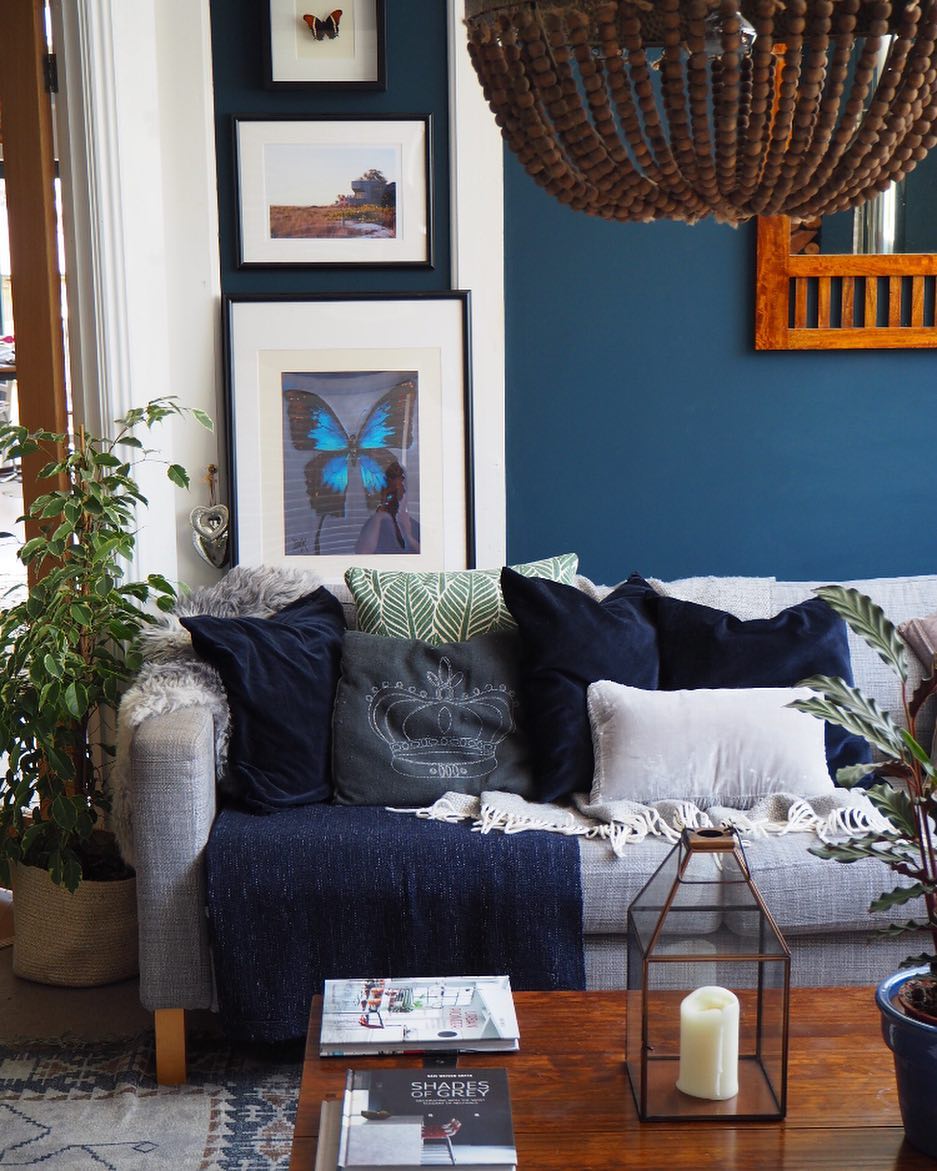
Photo credit: with permission from @hornsby_style via Instagram
8. Label each test patch
So many people forget to do this, which is a shame given it's surprisingly hard to match a paint colour with the tin once it's dried on the wall - especially if you've chosen a few shades that are very close together. So, lightly - and in pencil - write the names of each of the shades beside each tester patch you paint.
It's worth writing the brand of paint, too, just to make it easier to track down again if you end up using that paint colour for your room.
9. Apply a second coat and wait
Have you ever just applied one coat of paint to a wall? Me neither - not even when it claims to be one of those 'one coat' paints.
So, make your test patches a true reflection of what you'll be living with by applying a second coat of paint once the first one is dry.
Then, wait for a bit. Try to leave the paint colours for a week to see how you feel about each one, noticing how different times of the day and even the changing weather can bring out particular undertones and moods in your paint colours.

Photo credit: with permission from @house_with_the_yellow_door via Instagram
10. Finally, review your paint colours against key pieces of furniture or accessories
You don't have to make everything match in your home. In fact, it's much better that you don't. But if you have a beloved old throw or a punchy armchair you know you want to use in that room, compare it directly with the test patches and see what works. This isn't about matching colour, but it is about paying attention to undertones and seeing what compliments or clashes.
So, to recap:
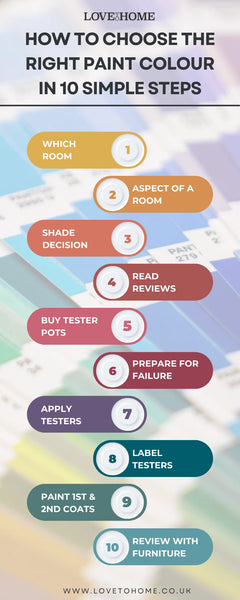
p.s Before you start painting, do this.
Pin This for Later


