Please note: This article may contain affiliate links. All recommendations and styling advice are provided as helpful suggestions only, please always research thoroughly before making any major changes to your home.
Wall panelling is a feature that can work exceedingly well in both traditional and contemporary homes, which is one of the reasons why it is so popular. When you want to turn a room from bland to beautiful, wall panelling is undoubtedly the way to go, but what type of panelling is right for your living space?
If you’re worried that your interior design skills will let you down, there’s no need to panic! I’m going to give you the lowdown on how wall panelling can transform your living room and share seven living room wall panelling ideas that you can put to use right away!
What Is Wall Panelling?
Well…it’s panels…fixed on the wall. I can’t put it much more simply than that! As the name suggests, wall panelling is simply an addition to the interior walls of your property. In centuries gone by, it was used to add insulation to homes but, today, it’s much more of a decorative feature.
Once, all wall panels were carefully cast in plaster and you’ll still find some ready-to-install plaster panels available today. However, wall panels made from alternative materials, such as timber, MDF or PVC are used to recreate the look of high-end wall panelling. Not only are these materials more durable, but they’re also easier to maintain and relatively simple to install.
(In fact, I’ve even managed to install my own wood panelling, so I can vouch for the simple installation!)
1. Add Elegance with Traditional Panelling
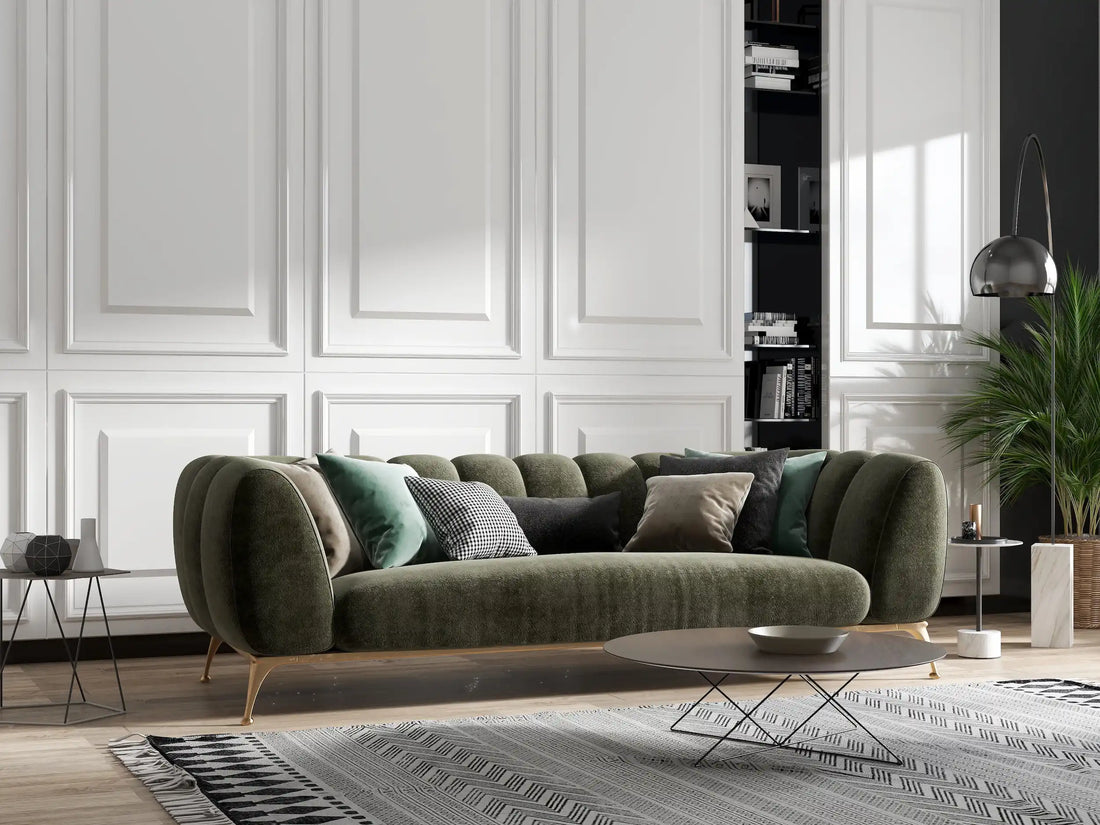
Wall panelling has been around for centuries, so it’s not surprising that you can use panelling to create a timeless and traditional living space. While traditional plaster panelling can be complex and expensive to install, there are plenty of traditional, decorative panels that can easily be added to a modern home.
Victorian, Edwardian or Jacobean style wall panelling instantly adds a feeling of elegance to any living room.
While these styles of wall panelling may seem similar at first glance, there are notable differences between the styles. Victorian wall panelling tends to have a more formal feel, for example, while Edwardian wall panelling channels a traditional vibe that is reminiscent of the early 20th century. Both feature square or rectangular panels, with closed and open back options widely available.
Alternatively, Shaker style panelling adds decorative effect and visual depth while keeping the impact simple and streamlined.
2. Use Partial Panelling for Maximum Effect
Full wall panelling can feel a little overwhelming in some spaces, particularly if your living room is on the smaller side. However, you don’t need to go overboard when it comes to using panelling to elevate the space.
Instead of opting for full wall panelling, install panelling on the lower half or lower third of the wall instead. This allows you to derive the decorative benefits of panelling without occupying the entire wall or room.
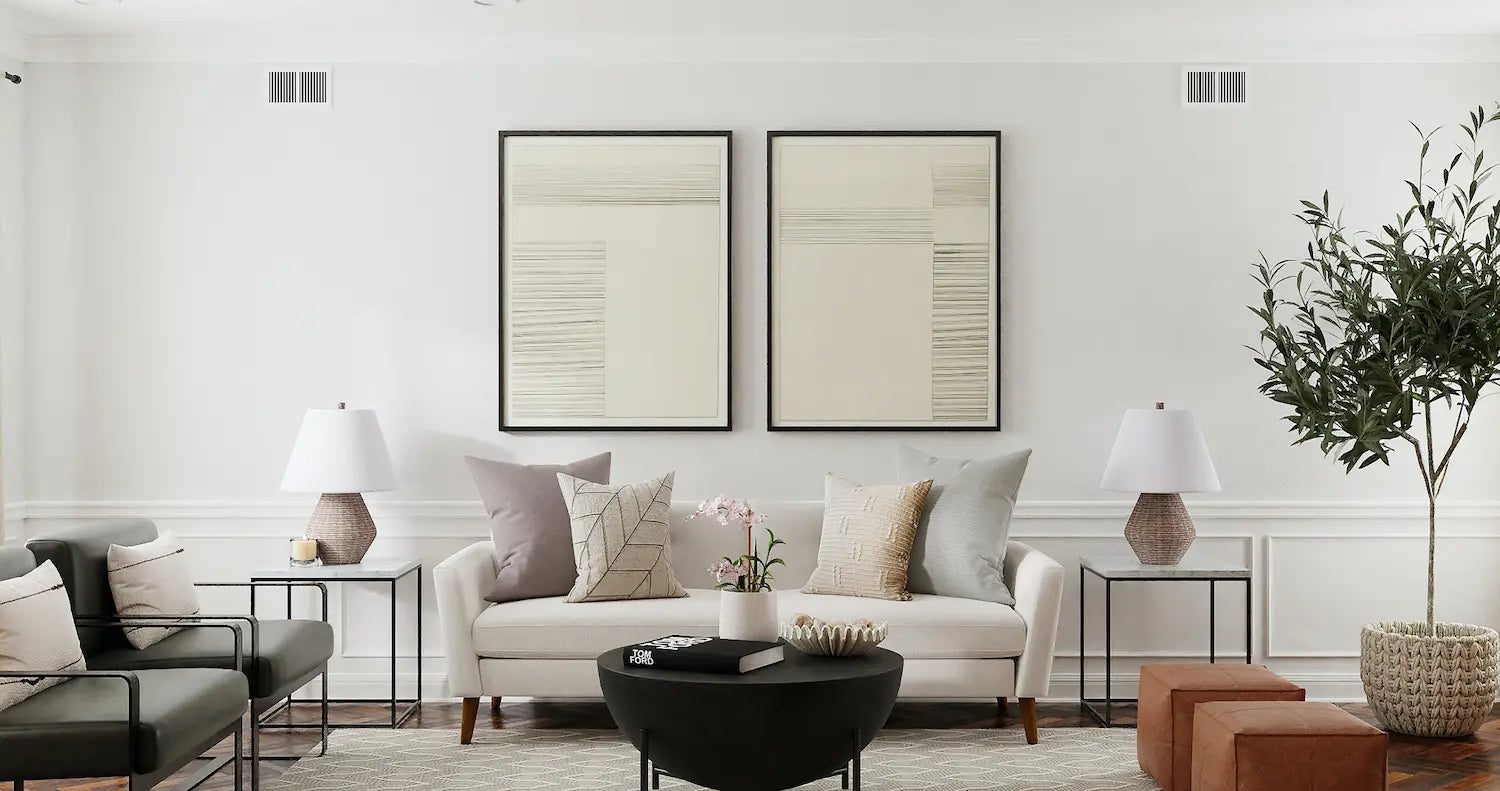
3. Showcase Artwork with Mouldings
Often created from wood, mouldings give the effect of wood panelling but are typically larger than most standard panels. Instead of a repeating pattern, a relatively small number of mouldings are generally fixed at eye-level or on the upper part of an interior wall.
Wall mouldings provide a fantastic frame for artwork and allow you to showcase your favourite pieces without detracting from the subject.
Whether you’ve got a priceless Picasso hanging in your living room or your favourite family portraits, wall mouldings are an innovative way to turn artwork into a statement feature. What’s more – adding mouldings to your interior design will add depth and texture to the wall also.
4. Add Height with ¾ Wall Panelling
Both half-wall and full-wall panelling are popular options, but these aren’t the only ways you can use panelling to enhance your living space. Personally, I’m a big fan of ¾ wall panelling. By covering the majority of the wall with panelling, you can generate maximum visual impact but, leaving the top ¼ of the wall free from panelling can make the room feel larger.
This is ideal in smaller living areas, where you really want to maximise the space available. With ¾ panelling, you can increase the feeling of vertical space and, therefore, make the room feel bigger.
If the size of your living room has been putting you off wall panelling, try ¾ panelling to add visual interest while creating a flexible and spacious feel.
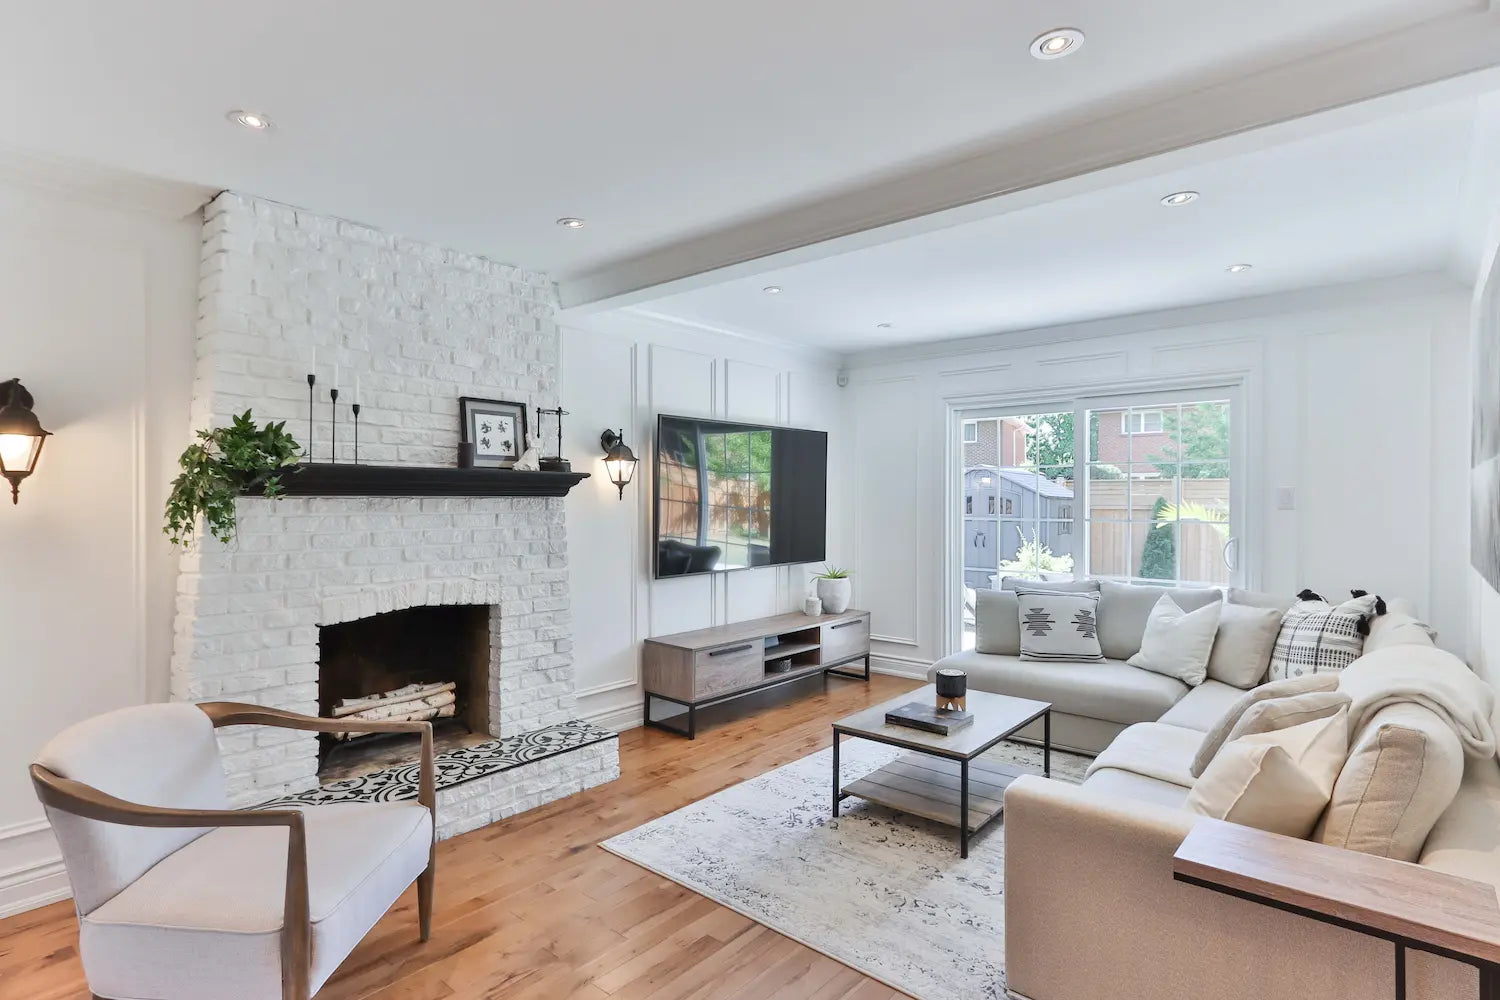
5. Create a Feature Wall with Panelling
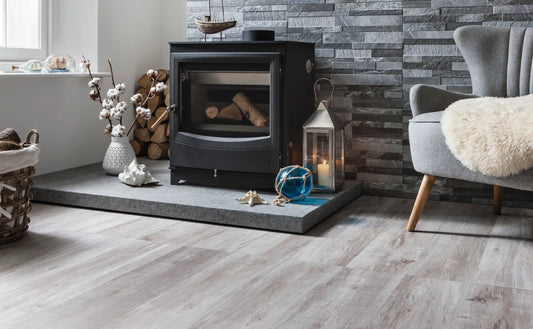
Panelling is a fabulous way to turn one wall into a statement feature. While any type of panelling will draw the eye, vertical wood panelling or graphite stone cladding will really set your interior apart. By choosing just one wall to focus on, you can be bolder in your choice of panels.
While wall-to-wall panelling in a bold colour might be too much, for example, this could look exquisite when it’s confined to just one wall.
Similarly, you can combine wall panelling with existing features to give them a fresh new feel. If you have a media wall or fireplace in your living room, for example, using wall panelling to surround this feature will turn it into an even more eye-catching addition to the space.
6. Try Open Panelling for Extra Depth
When you’re exploring wall panelling options for your living room, it’s important to get the lingo right! Two terms you’re sure to come across are ‘open-backed panelling’ and ‘closed-backed panelling’ and here’s what they mean:
- Open-backed panelling features the shape of the panels but allows the interior wall to show through the perforations in the panel.
- Closed-back panelling covers the wall so that none of the interior wall can be seen.
With open-backed panelling, you can paint the panels in a contrasting colour or paint the panels in the same colour as the walls. By doing so, you’ll add more depth and visual interest to the space, while retaining a sense of subtlety.
Pro Tip – If the surface of your walls isn’t the best and you want to avoid the hassle of replastering, closed-back wall panelling is an effective way to cover any unevenness while adding a stunning visual!
7. Differentiate Between Spaces with Wood Panelling
Open plan living is an easy way to create a multi-functional space that works for everyone, but you’ll want to use this space wisely. Without the right interior design, open plan living areas can quickly become a free-for-all, with no distinct elements or ‘zones’.
Adding wall panelling to part of the room makes it easy to segment open plan living areas into various spaces and adds a sense of purpose and functionality to each area. If you want to segment one area as a dining space, for example, use vertical wood panelling as a backdrop to your dining table.
Ready to Start Panelling? Here’s What to Do!
If you can’t wait to give your living room a lift, start planning which parts of the wall you want to enhance with panelling. Select the style of panels you want to use, measure the wall and calculate how many panels you’ll need. Then:
1. Prepare the wall
It’s advisable to sand and smooth the walls before you get started, as this will provide the best base for the panels. If you’re using open-backed panels, the interior wall will be visible, so preparing sanding and smoothing really will have an impact on how the finished product looks.
2. Cut the panels
Using the measurements you took earlier, cut the panels to fit the wall using a saw and mitre box (or get this done for you by professionals when you purchase the panels!).
3. Place panels on the wall
Place the panels against the wall and use a spirit level to ensure they’re straight. If you’re installing closed-back panelling, place the frame first and then the base panels. Once you’re happy with the placement, use a strong adhesive to stick the panels to the wall and hold each panel in place until the glue has begun to set.
4. Look out for gaps
Even the best DIYer makes mistakes, but don’t worry if there are slight gaps in the panelling. Just fill these in with caulk or filler, and sand it down to give it a smooth finish. Once painted, you won’t even notice where any gaps were.
5. Paint the Panelling
Make sure the adhesive and caulk or filler has had enough time to set and then you can start painting your new wall panels. This is where you really start to feel your design come to life and it’s undoubtedly the most fun part of the project. From dark, inky blues for a rich, regal effect to light, dusky pinks for a subtle feel, panelling works in all shades, so feel free to explore your creativity! Use our guide here on how to choose the right paint colour.
Wall panelling tutorial from The Restoration Couple
Custom made wall panelling by Blaine Gray from Plastering for Beginners
Transform Your Living Space with Wall Panelling
As you can see, installing wall panelling is easier than it seems and integrating living room wall panelling ideas into your home needn’t be complicated. While there are many companies that offer a bespoke service, installing your own wall panelling is a quick and simple way of overhauling your space and breathing new life into your living area.
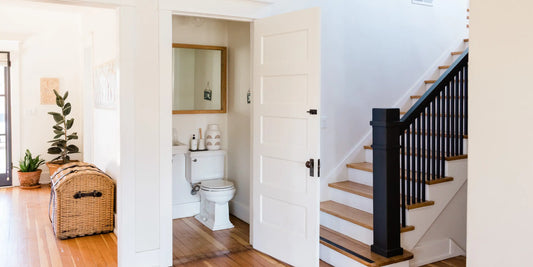
Find out how to panel your stairs here
Pin This for Later